I started by taking a video using my digital camera on a tripod so it was as still as possible. I then uploaded and opened my video in Adobe Premiere.

I then trimmed my video down to the part I wanted to use for the cinemagraph.

I then went to the color tab and changed the settings to my preference, in this case black and white to fit in to my artist, Petra.

I then exported my video using these settings. This exports the video in to frames so I can edit it into a gif.

Next, I used Adobe Bridge to convert the frames in to Photoshop layers.

When all the images where loaded in to Photoshop, I made sure timeline was open and clicked 'Create Frame Animation'

When the first frame appeared, I went to the sidebar and clicked 'Make Frames from Layers' This creates a whole timeline of all the layers which you can then edit.

Next, I picked which frame I wanted to be my main layer and act as the still image throughout the cinemagraph. I used the first frame of the video and made sure 'unify layer visibilty' was checked.

I then grouped the rest of the layers together so when I create my mask it does it for every single layer at once.

With all the grouped layers I then used the 'lasso' tool to highlight which part of the frames I wanted to move, I did this quite rough but accurate.

After that was done, I went down to the layers menu and added a layer mask to the grouped layers which then applies the lasso to every frame within that group.

I made sure I dragged the group layer above the background/main layer so it shows, as you can see in some layers, the lasso creates a bit of a rough edge in some frames where it doesn't fit with the frame, to correct this, I used the 'smudge' tool and smoothed out the harsh edges in the frames that needed it.


Thats all the difficult bit done. Now I selected all frames and changed the speed to my preference, you can also go through each frame and have different speeds so the gif/cinemagraph looks different, however to save a lot of editing, I keep the speed the same all the way out.

Now its done and I can save it. To save it as a gif, I went up to file, export and click 'Save for Web'.

This then brings up a menu which I've already set preferences for. Because gifs can only be a certain amount of frames to work properly, you have to toggle a few things. I changed a few of my settings and made sure I converted it to 'Internet Standard RGB' which just makes sure it runs properly when used online.
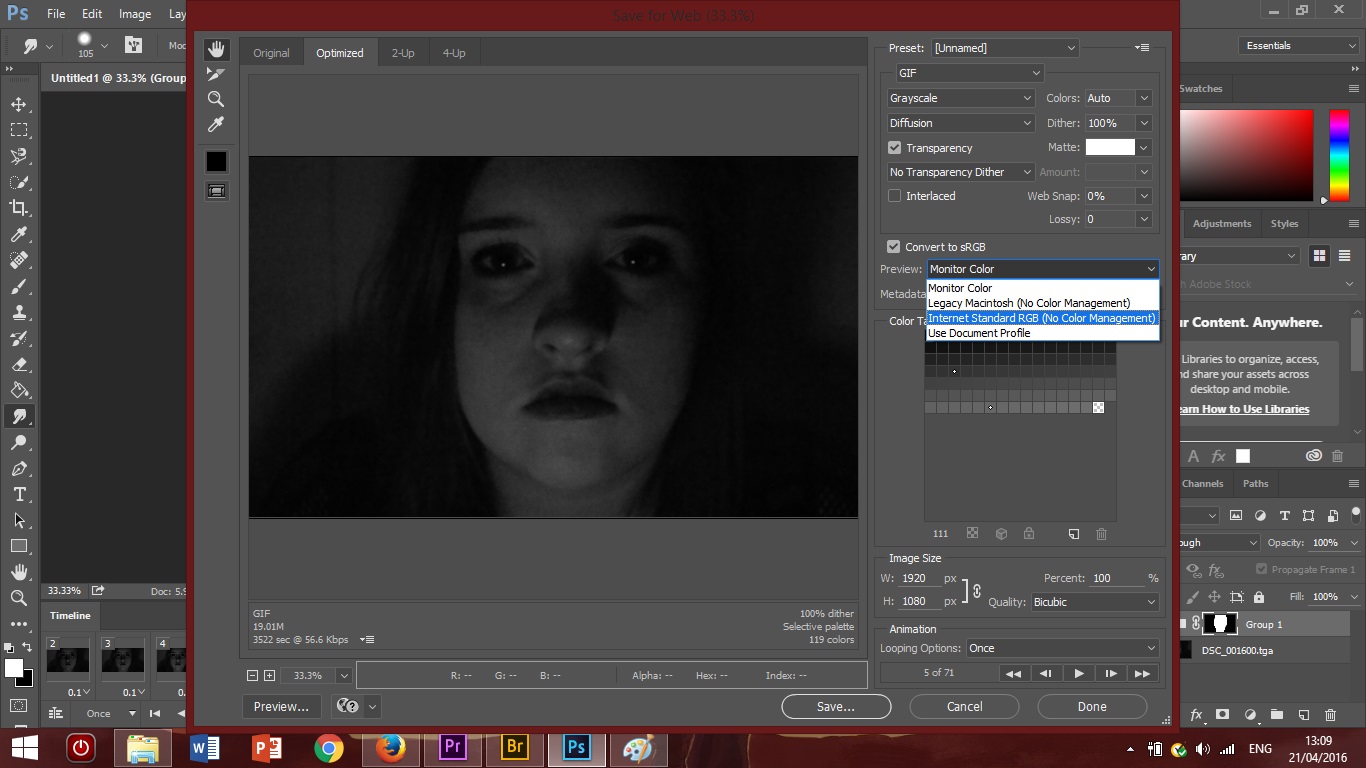
The last part, down at the bottom is the looping options, I set this to forever so the gif constantly runs and never stops. That was it, everything finished and then I saved it.

No comments:
Post a Comment